Yash CakePHP Admin
Yash CakePHP Admin
This documentation is last updated on 06 March 2024.
Thank you for purchasing this CakePHP template.
If you like this template, Please support us by rating this template with 5 stars
Quick Start -
Requirements
CakePHP has a set of requirements in order to run smoothly in specific environment. Please see requirements section in CakePHP documentation.
YashAdmin similarly uses additional plugins and frameworks, so ensure You have Composer installed on Your machine.
Assuming your machine meets all requirements - let's process to installation of YashAdmin CakePHP integration (skeleton).
- Open in cmd or terminal app and navigate to this folder
- Run following commands
composer install
For more information about the CakePHP installation, check out on this link https://book.cakephp.org/5/en/installation.html
Sass Compile -
1.- Install Node.js
To compile Sass via the command line first, we need to install node.js. The easiest way is downloading it from the official website nodejs.org open the package and follow the wizard.
2.- Initialize NPM
NPM is the Node Package Manager for JavaScript. NPM makes it easy to install and uninstall third party packages. To initialize a Sass project with NPM, open your terminal and CD (change directory) to your project folder.
npm init

Once in the correct folder, run the command npm init. You will be prompted to answer several questions about the project, after which NPM will generate a package.json file in your folder.
3.- Install Node-Sass
Node-sass is an NPM package that compiles Sass to CSS (which it does very quickly too). To install node-sass run the following command in your terminal: npm install node-sass
npm install node-sass
4.- Write Node-sass Command
Everything is ready to write a small script in order to compile Sass. Open the package.json file in a code editor. You will see something like this:
In the scripts section add an scss command
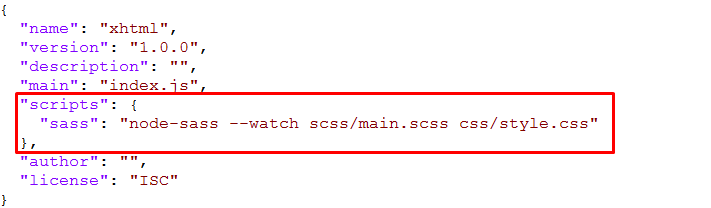
"scripts": {
  "sass": "node-sass --watch scss/main.scss css/style.css"
},
5.- Run the Script
To execute our one-line script, we need to run the following command in the terminal: npm run sass
npm run sass
Folder Directories -
- YashAdmin
- templates
- element
- chatbox.php
- footer.php
- header.php
- nav-header.php
- preloader.php
- sidebar.php
- layout
- dashboard.php
- login.php
- fullwidth.php
- register.php
- YashAdmin
- analytics.php
- app_calendar.php
- app_profile1.php
- app_profile2.php
- blog.php
- chart_chartist.php
- chart_chartjs.php
- chart_flot.php
- chart_morris.php
- chart_peity.php
- chart_sparkline.php
- chat.php
- chatbot.php
- crm.php
- ecom_checkout.php
- ecom_customers.php
- ecom_invoice.php
- ecom_product_detail.php
- ecom_product_grid.php
- ecom_product_list.php
- ecom_product_order.php
- edit_profile.php
- email_compose.php
- email_inbox.php
- email_read.php
- empty_page.php
- employee.php
- form_ckeditor.php
- form_element.php
- form_pickers.php
- form_validation.php
- form_wizard.php
- index.php
- index2.php
- index3.php
- index4.php
- index5.php
- map_jqvmap.php
- page_error400.php
- page_error403.php
- page_error404.php
- page_error500.php
- page_error503.php
- page_forgot_password.php
- page_lock_screen.php
- page_login.php
- page_register.php
- performance.php
- post_details.php
- products.php
- project.php
- sales.php
- table_bootstrap_basic.php
- table_datatable_basic.php
- task.php
- uc_lightgallery.php
- uc_nestable.php
- uc_noui_slider.php
- uc_select2.php
- uc_sweetalert.php
- uc_toastr.php
- ui_accordion.php
- ui_alert.php
- ui_badge.php
- ui_button.php
- ui_button_group.php
- ui_card.php
- ui_carousel.php
- ui_dropdown.php
- ui_grid.php
- ui_list_group.php
- ui_modal.php
- ui_pagination.php
- ui_popover.php
- ui_progressbar.php
- ui_tab.php
- ui_typography.php
- user.php
- user_roles.php
- widget_basic.php
- element
- webroot
- css
- icons
- images
- js
- scss
- vendor
- templates
Theme Features -
js/deznav-init.js
dzSettingsOptions = {
	typography: "poppins",
	version: "light",
	layout: "vertical",
	primary: "color_1",
	headerBg: "color_1",
	navheaderBg: "color_2",
	sidebarBg: "color_2",
	sidebarStyle: "full",
	sidebarPosition: "fixed",
	headerPosition: "fixed",
	containerLayout: "full",
};
Color Theme -
So many color option available
var dezSettingsOptions = {
	typography: "poppins",  		More Options => ["poppins" , "roboto" , "Open Sans" , "Helventivca" ]
	version: "light",       		More Options => ["light" , "dark"]
	layout: "horizontal",   		More Options => ["horizontal" , "vertical"]
	primary: "color_11",			More Options => ["color_1," , "color_2," ..... "color_15"]
	headerBg: "color_1",			More Options => ["color_1," , "color_2," ..... "color_15"]
	navheaderBg: "color_1",			More Options => ["color_1," , "color_2," ..... "color_15"]
	sidebarBg: "color_11",			More Options => ["color_1," , "color_2," ..... "color_15"]
	sidebarStyle: "compact",		More Options => ["full" , "mini" , "compact" , "modern" , "overlay" , "icon-hover"]
	sidebarPosition: "static",		More Options => ["static" , "fixed"]
	headerPosition: "fixed",		More Options => ["static" , "fixed"]
	containerLayout: "full",		More Options => ["full"]
	direction: direction			More Options => ["ltr"]
};
Plugins included -
-
CakePHP
-
amcharts
-
animate
-
apexchart
-
bootstrap
-
bootstrap4-notify
-
bootstrap-daterangepicker
-
bootstrap-material-datetimepicker
-
bootstrap-multiselect
-
bootstrap-select
-
bootstrap-tagsinput
-
bootstrap-touchspin
-
bootstrap-v4-rtl
-
chart.js
-
chartist-plugin-tooltips
-
clockpicker
-
datatables
-
dropzone
-
fullcalendar
-
highlightjs
-
jquery
-
jquery-asColor
-
jquery-asColorPicker
-
jquery-asGradient
-
jquery-sparkline
-
jquery-steps
-
jqueryui
-
jquery-validation
-
metismenu
-
moment
-
nestable2
-
nouislider
-
perfect-scrollbar
-
pickadate
-
select2
-
summernote
-
svganimation
-
sweetalert2
-
Lightgallery
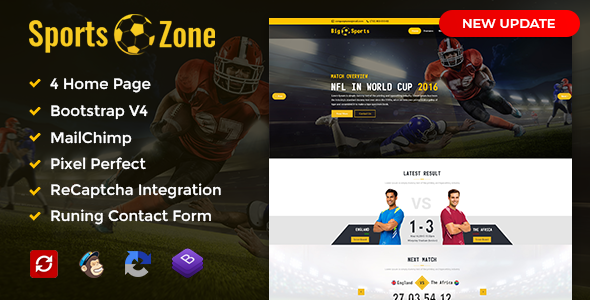
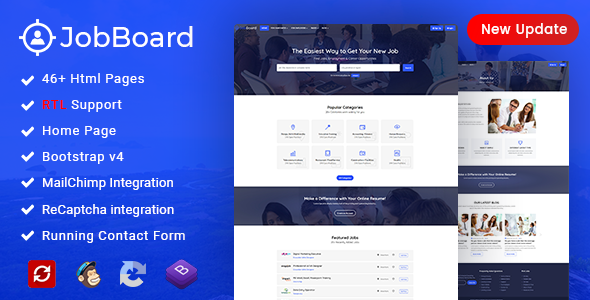
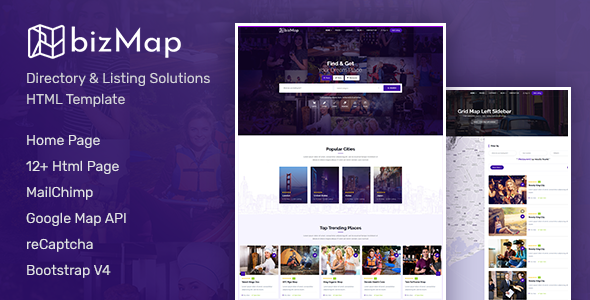
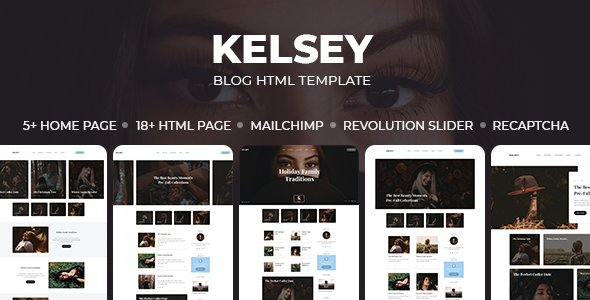
Our Products -


Do You Need Help To Customization
After Purchase A Template...
You Will Start Customizing According Your Requirement
BUT What If You Don't Know
SOLUTION IS HIRE DexignZone
Hire Same Team For Quality Customization
- We Will Customize Template According To Your Requirement
- We Will Upload On Server And Make Sure Your Website is Live